

Twinkle Starlight Headliner Kit RGBW | Customise your kit !
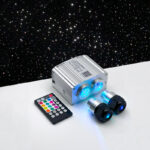
Twinkle Starlight Headliner Kit RGBW | Customise your kit !
190,00 € – 738,00 € incl. tax.
- Livraison gratuite en 72h
- En stock
- Description
- Technical Specifications
- Installation Tips
Description
Our Twinkle Starlight Kit assembled un France :
For what purpose ?
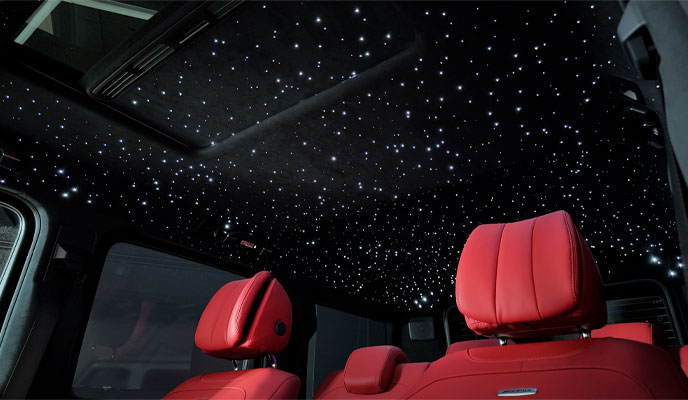
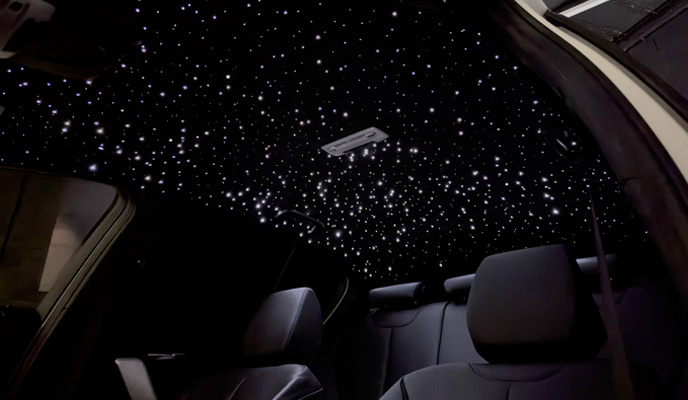
Our starlight kits can be used for all kinds of projects, mainly for car headliner, but also for ceiling.
Our kits meet all our customers' expectations, with the freedom to choose the number of optical fibers according to the surface to be worked, the length of the optical fibers according to the type of project, and also the diameter of the optical fibers according to the desired result.
The size of the box makes it easy to conceal in car interiors.
What's in our kits ?
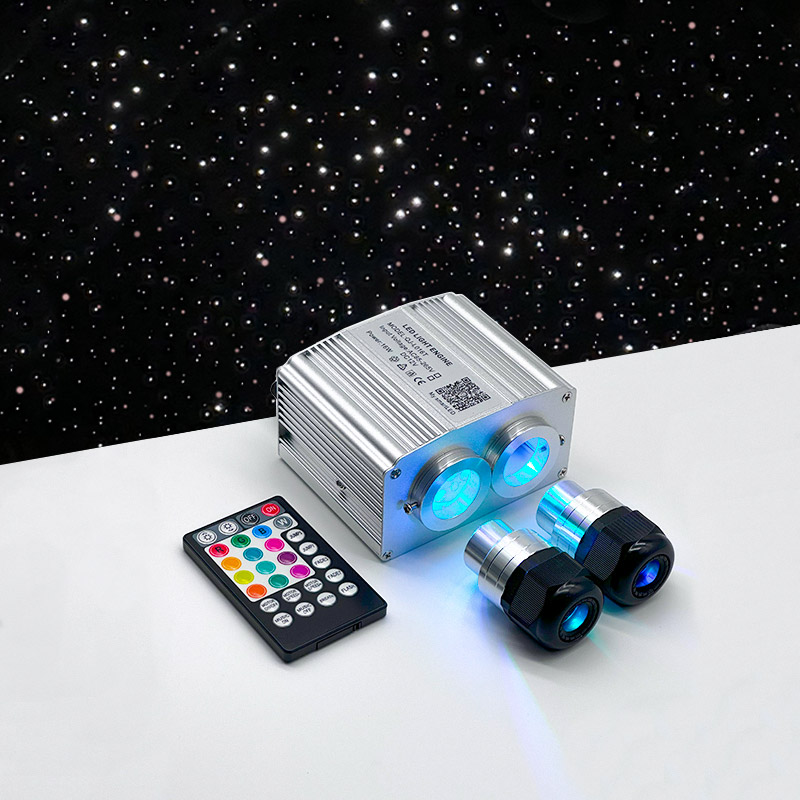
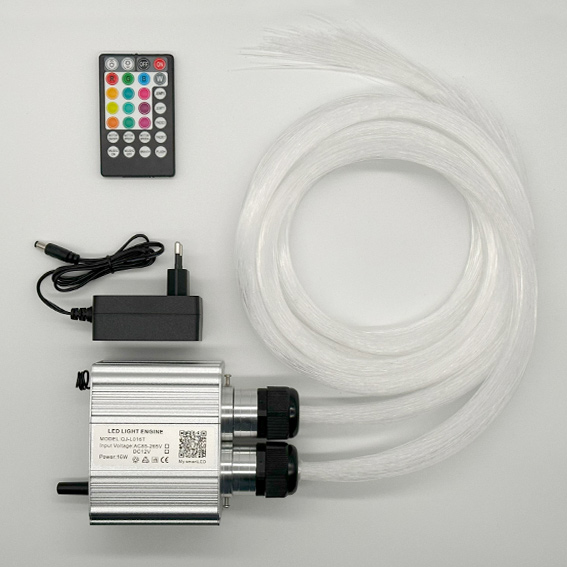
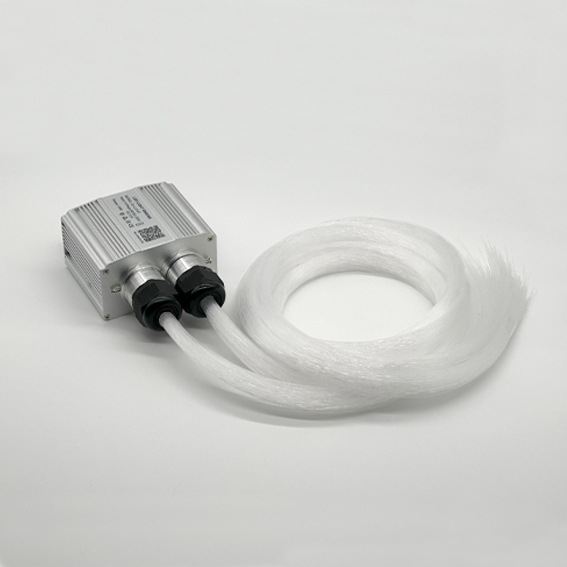
- Twinkle Box LED RGBW 16W Two heads
- 220/240V power cable for LED box
- Fiber optic bundles to suit your configuration
- Remote control (battery included)
Mobile Application "My SmartLED" and Remote
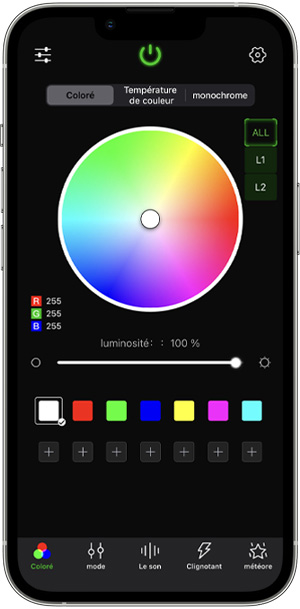
Mobile application compatible with iOS and Android
Manage your starlight from the mobile app:
- Color Selection
- Light Intensity
- Twinkle Mode
- Music Mode
- Random Mode
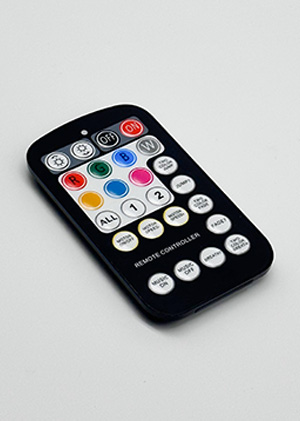
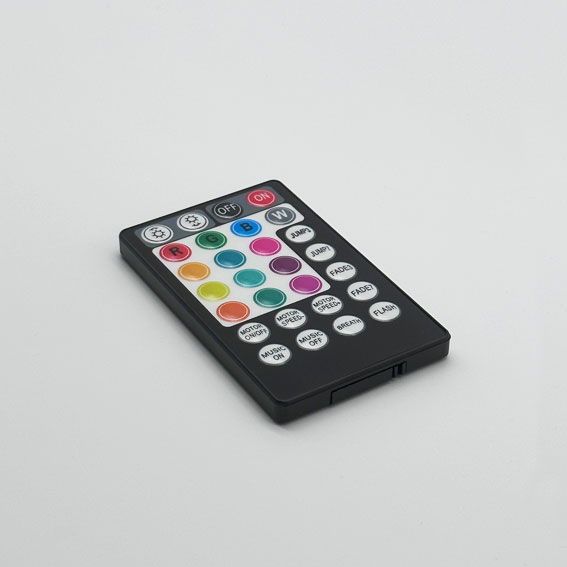
The remote
In addition to the mobile app, the remote control lets you manage the starlight.
Starlight settings
16 Million Colors
A panel of 16 million colors accessible instantly.
Light Intensity
Play with the light intensity according to the atmosphere you want to create.
Twinkle Stars
The Twinkle of the Stars will bring a realistic effect to your creation : the brightness of the stars will be softened randomly on the starry sky.
Music Mode
The colors of the starlight will change to the rhythm of the music !
Technical Specifications
The LED box :
- Power : 16W
- Power supply cable EUROPE
- Input voltage : AC 85 ~ 265V /DC 12V
- LED color : RGBW
- Remote control type : 28 keys
- Case material : Light weight aluminum
- Service life : up to 50,000 hours
- Control mode : iOS and Android app, remote control
- Case dimensions : Length 10.6cm * Width 9.6cm * Height 6.1cm
- Ring inner diameter: 2 heads, 20mm/head
The Optical Fibers :
- Operating temperature of Fiber Optics: -58 °F to 167 °F
- High-quality PMMA plastic optical fibers
- Does not break or bend
- Allows light to pass through without light loss
Using the Application :
- Download the “My SmartLED” App
- Activate your bluetooth and location
- The application connects automatically, ensuring that the box is correctly powered.
Installation Tips
If you install your Starlight Kit on your car :
- Determine the length of the optical fibers before purchasing your kit
Determine the length between the future position of your LED box and the optical fiber furthest from the headliner. Measure the distance between the two, allowing for a safety margin of 30 centimetres. This distance corresponds to the ideal length of your optical fibers.
- Removing the headliner trim
We recommend the use of our headliner disassembly tools, as well as our car interior disassembly kit, to remove the headliner from the vehicle.
- Spiking your headliner with optical fibers
This is the most time-consuming part of creating a starry sky. Start by marking the number of optical fibers with a pen on your vehicle’s roof sky. If you’re using a kit with 800 optical fibers, you’ll need to mark 800 points on your roof sky.
- Reassembling the headliner and cutting the optical fibers
Reassemble your headliner, position your LED box and pass your fiber optic bundles through cleanly. Now it’s time to cut the optical fibers with our precision cutters.
If you install your Starlight Kit in your celing :
- Determine the length of the optical fibers before purchasing your kit
Determine the length between the future position of your LED box and the optical fiber furthest from the starry sky. Measure the distance between the two, allowing for a safety margin of 30 centimetres, which corresponds to the ideal length of your optical fibers.
- If you’re working on a plasterboard or wooden base
Start by marking the number of optical fibers with a pen on your base. If you’re using a kit with 800 optical fibers, you’ll need to mark 800 points on your plasterboard, for example.
Allow the fibers to protrude by about 10 cm. Once the fibers have passed through, glue them to the non-visible surface.
- Final touch
Once your plasterboard or wood panel has been reassembled, it’s time to spray-paint your surface.
All that’s left to do is sand and admire your starry sky!


